svgTrinusifier v1.0
QR Code to Trinus Laser Tutorial
1. Generate a QR code SVG
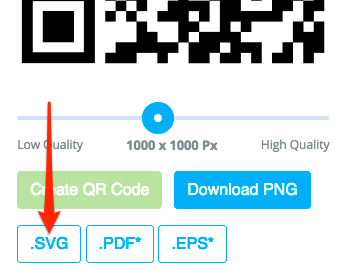
I used QRCode-Monkey for this tutorial, but feel free to use whatever service you like — as long as it outputs a vector only SVG file. QR codes with images in them will not work with this method.
Click on the .SVG button and save the file to your hard drive.

2. Open SVG file
I'll be using Adobe Illustrator to edit and prep the SVG file. It's a premium product, but it comes with a 30-day free trial, which is nice. There are free alternatives out there but nothing really comes close to the power of AI, plus there are a ton of resources you can find to get started.
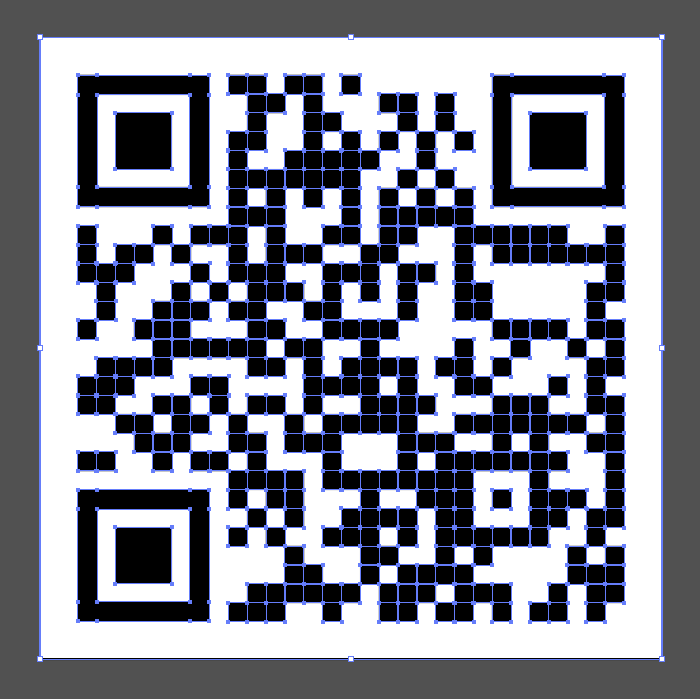
The first thing you'll notice about this file is that the black blocks are actually individual rectangles, so we'll have to merge all that and then remove anything unnecessary.

3. Remove white background
Select the bottom layer and remove it by selecting it and pressing the delete key.
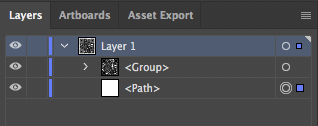

4. Ungroup everything
Select the < Group > layer and then ungroup several times until there are no groups left by pressing the shortcut Cmd+Shift+G on a Mac or Ctrl+Shift+G on Windows. Don't worry about overdoing it, so keep on pressing the key combo until you don't notice any change anymore.

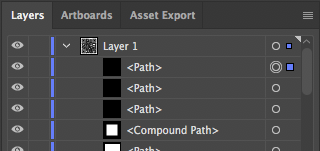
5. Select path and select all same
Select the first path in the layer panel. We'll use this selection to select all shapes of the same attributes: after selecting, in the main menu go to Select > Same > Appearance. This will select all black shapes.

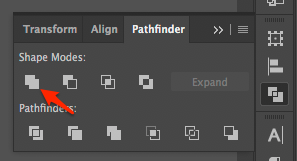
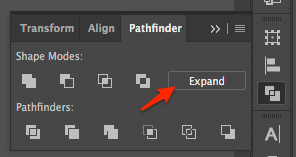
6. Merge shapes and expand
With the selection intact, find the Pathfinder window (toggle it from the Window menu if not visible) — then press the first icon (as shown in the image here) while holding the Alt key. This will create a compound path from the selection. Then click on the Expand button to expand the group into a single object.


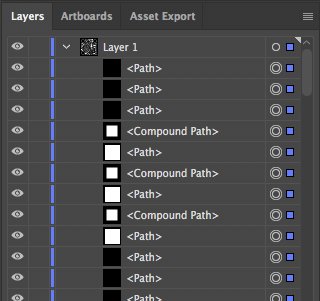
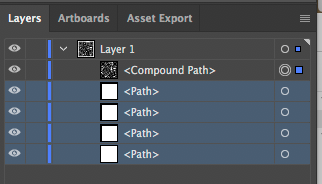
7. Delete all other layers
At this point you'll see a < Compound Path > layer and a couple other ones. Keep the first and remove everything else (those named < Path > in our case).
We'll use this shape to import into the Trinus sized sample file to prepare for laser printing! Let's get to it 😉

8. Open sample.svg and paste your QR code
Download the sample.svg file if you haven't already and open it. Delete all existing paths from it and then go back to your QR code file we just prepped and after selecting your shape, copy it (Cmd+C or Ctrl+C) then go back to the sample file and paste (Cmd+V or Ctrl+V) it in there.


9. Resize QR code
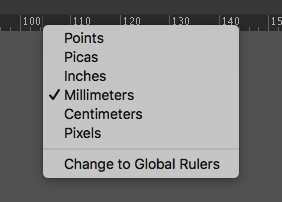
At this point, it might be useful to switch over to millimeters as your measurement units for the file (if not already set) — do this by enabling the ruler (Cmd+R or Ctrl+R) and right-click on it then select Millimeters from the drop-down (as shown in the image here).
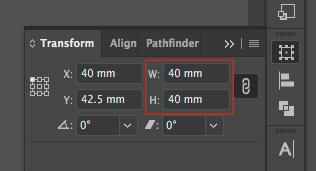
Your QR code might be way bigger than the artboard of the sample file. Resize it to the desired size by selecting the Transform panel and entering the values in millimeters (as shown) — I chose 40mm. The sample size is true to the actual size of the printbed of the Trinus so you can have a better appreciation of how big/small things will be compared to the max area.


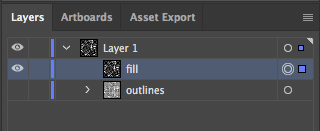
10. Rename shape and duplicate
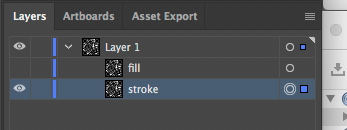
Duplicate the shape by copying (Cmd+C or Ctrl+C) and then pasting to the same place above the original (Cmd+F or Ctrl+F). Rename your layers to fill and stroke. For now, hide the fill layer (by clicking the eye icon on the left), we'll focus on it later.

11. Outline shape
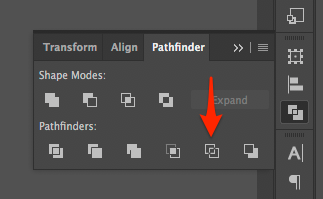
While the stroke layer is still selected, go to the Pathfinder panel and press the Outline command (as shown). This step is necessary to explode the shapes into individual groups so that the laser can trace them without burning a line between them. After the command ran, the shape will turn into a group and we'll lose the fill color. In the next step, we'll add a stroke to this group. No need to ungroup, but it's useful to rename it to something that makes sense, like outlines.

12. Set lines
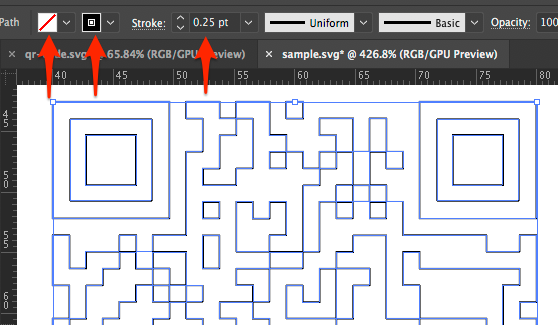
Let's add a stroke to our outlined shape group so we can see it. We'll do this by selecting the shape and then set the stroke to black (or any color), then set the line width to 0.25 points — you can do all these changes in the toolbar that appears (upon selection of the shape) under the main menu.

13. Hide outlines, show fill
Let's hide the outlines group for now and unhide the fill layer.

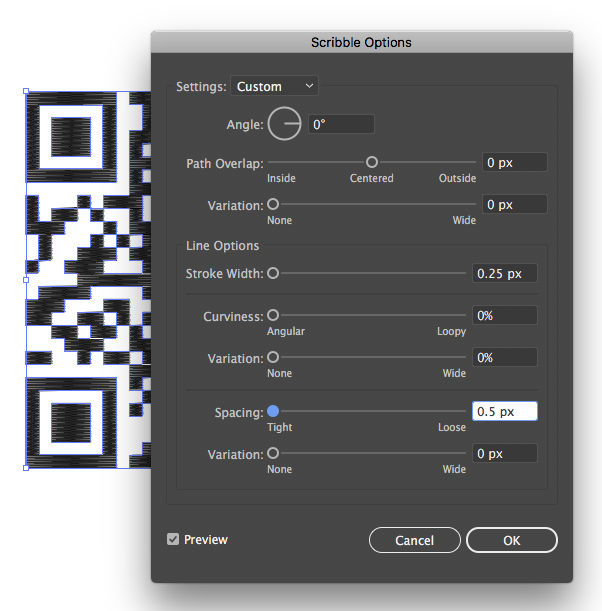
14. Add fill pattern
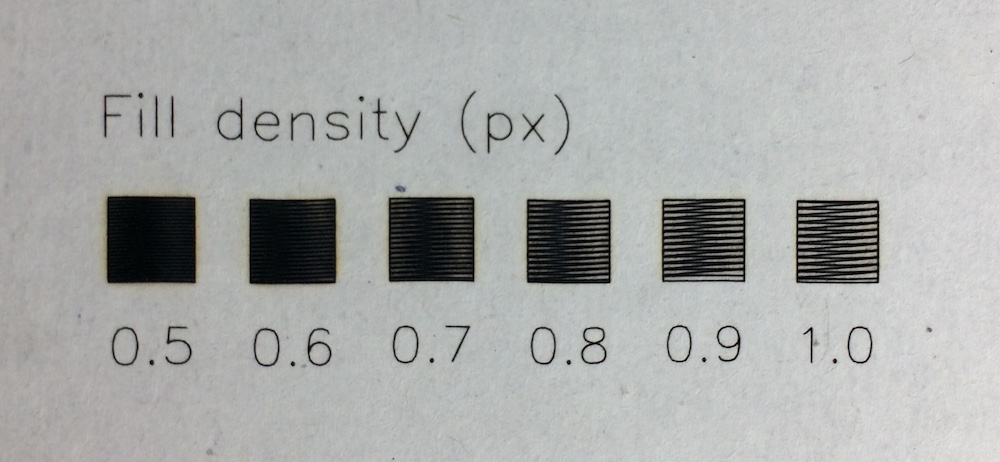
While the fill layer is selected, go to Effect > Stylize > Scribble in the main menu and put in the settings as shown in the image here. This is pretty much the quickest way of generating a fill pattern, though it's not perfect, it'll do the job for most use cases. You can play around with the angles and fill density, see attached image as a reference on how dense the lines get at different values when the laser traces it.
Press OK when you think the fill pattern is good enough. This is a layer effect, which means that what you see is rendered by Illustrator on top of the layer, which is still a filled shape, not lines yet. So we'll have to expand the effect in order to be able to create the lines that make it up.


15. Expand fill pattern
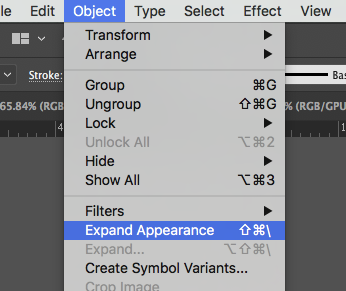
While the fill layer is still selected, click on the Object > Expand Appearance menu item. This will expand the fill layer into a group, consisting out of paths that make up the fill pattern.
Unhide the outlines layer and we're done and ready to save our SVG file.

16. Save SVG file
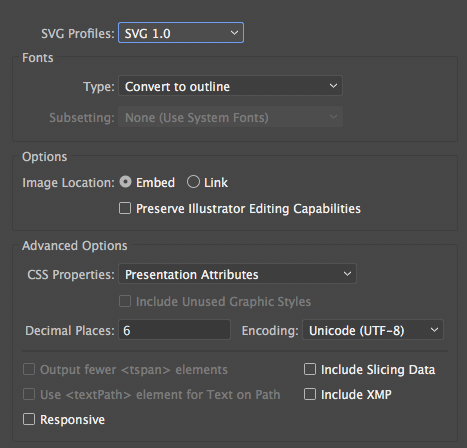
Go to File > Save As and select SVG (svg) from the Format dropdown. When the SVG Options window shows up, select the options as in the image shown. Make sure Decimal Places is set to at least 6 - this is how precise your coordinates will be. More precision means better quality.

17. Convert SVG to Trinus ready G-code
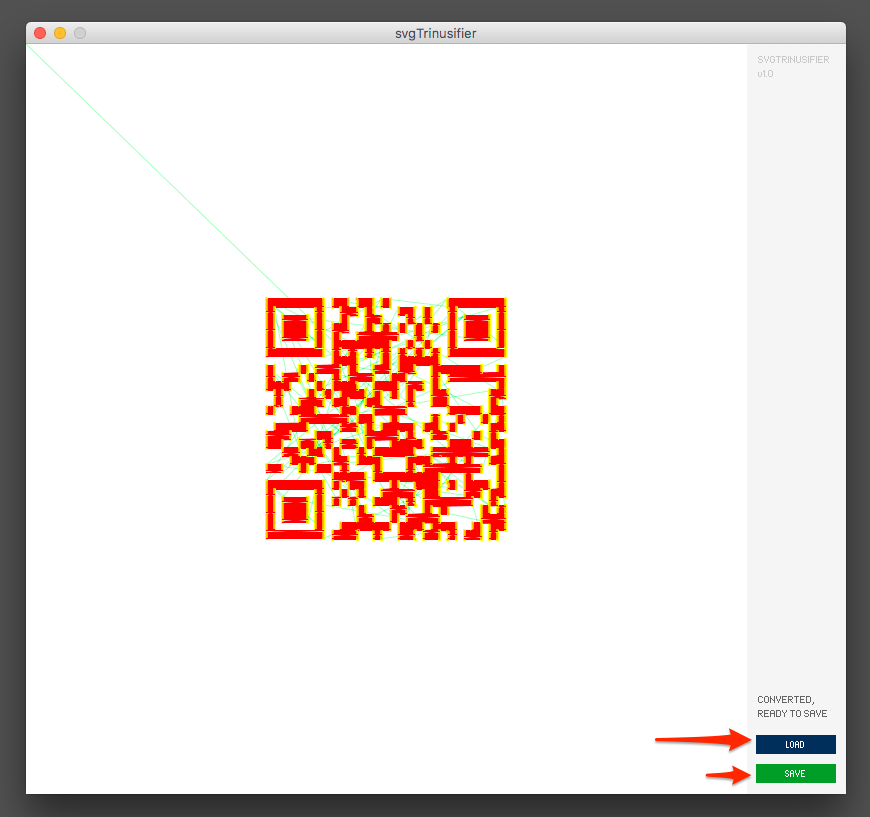
Fire up svgTrinusifier and press the LOAD button, select the SVG file we just saved and after the process is done press SAVE, name your file and we're done! Now you have a Trinus ready G-code file that is ready to be popped into your printer. Copy this generated file unto your SD card and rename it to autoprint.gcode. Safely remove SD card and plug it into your Trinus.

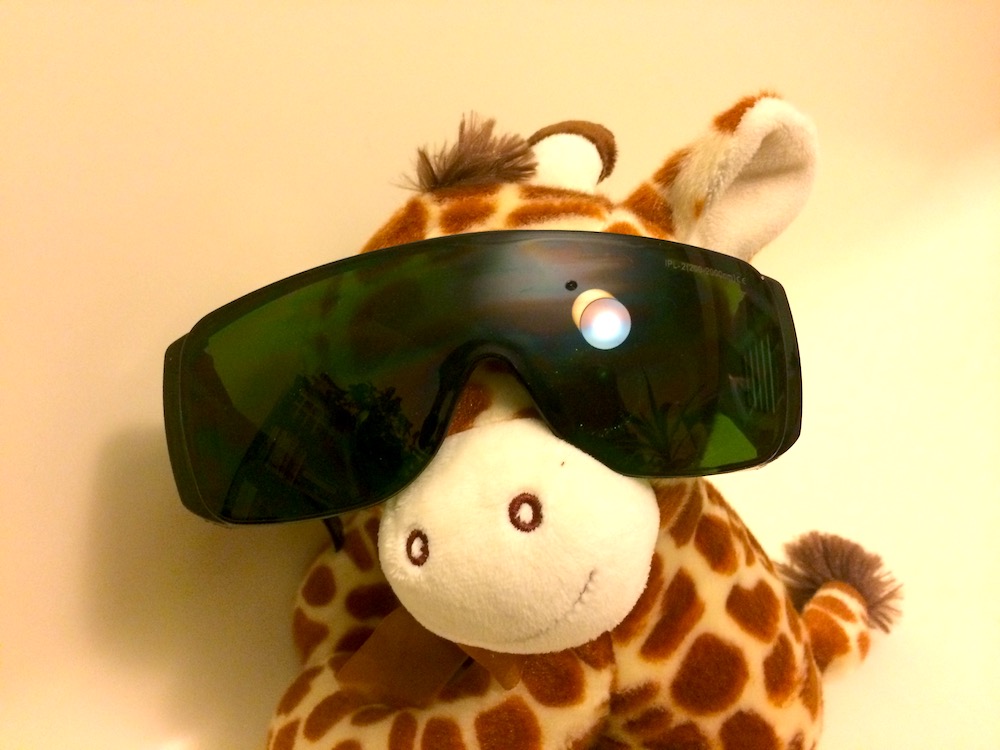
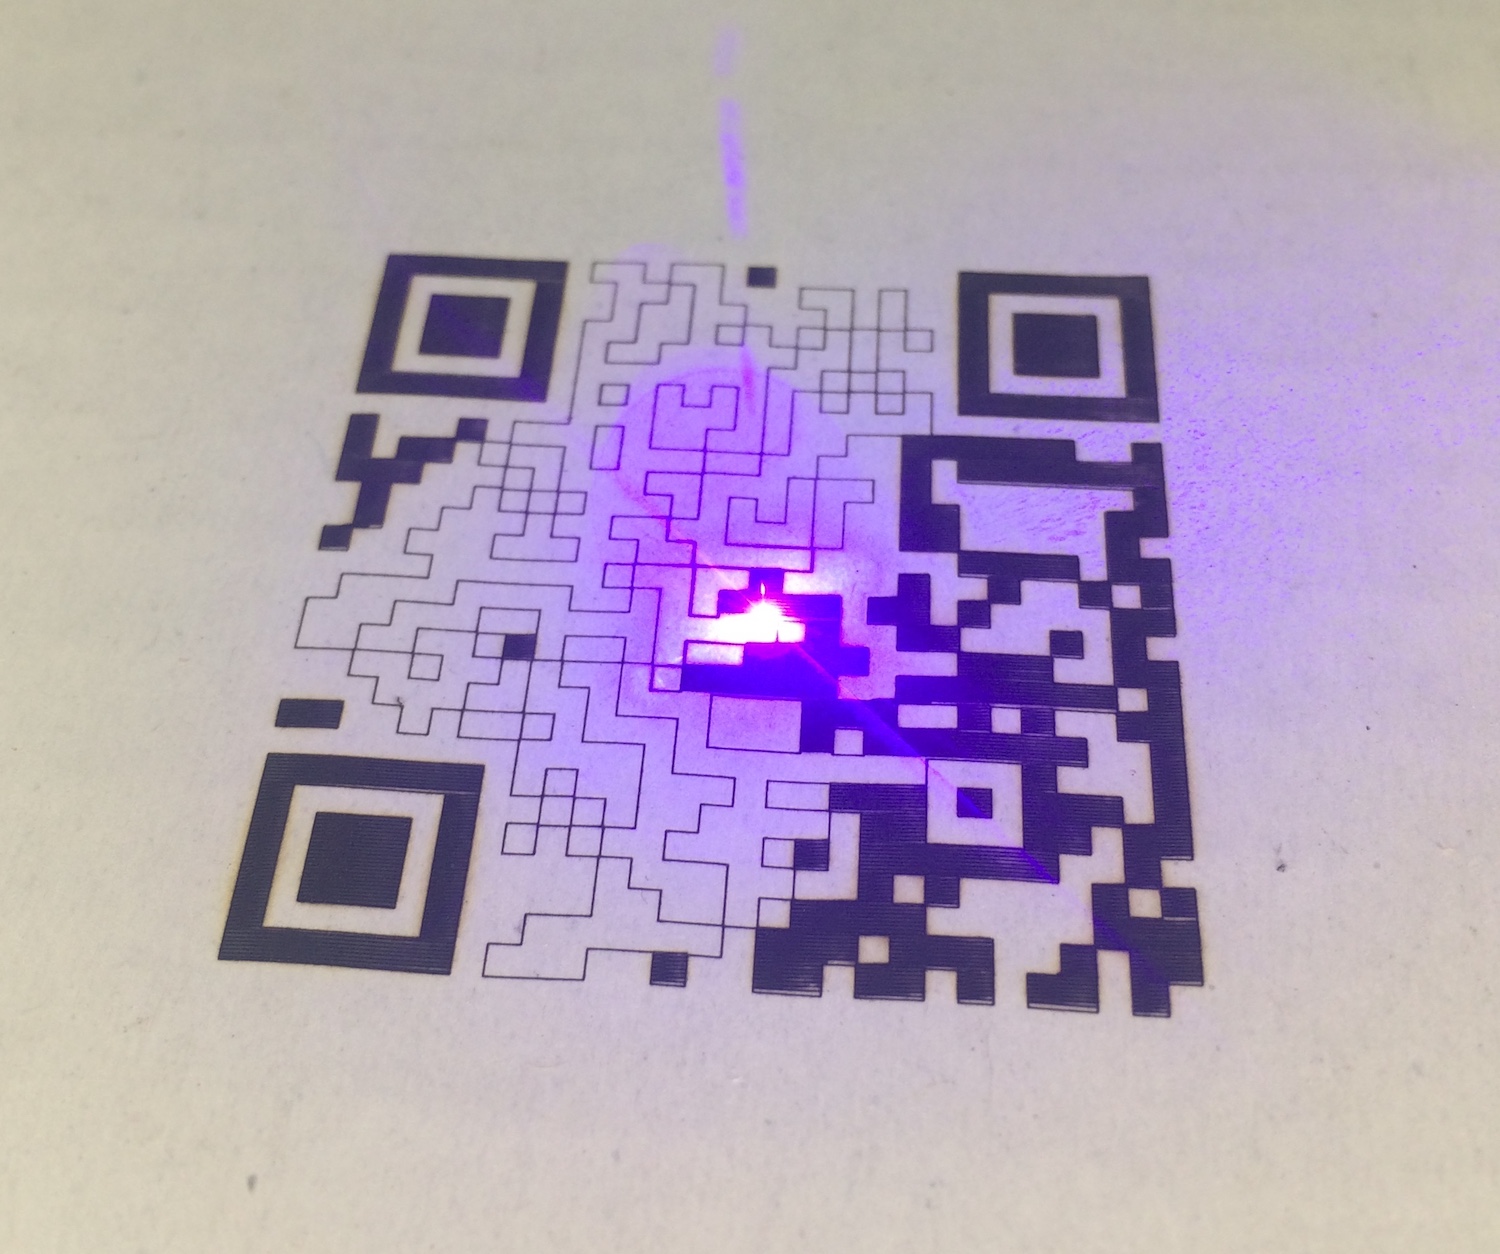
18. Wear your safety glasses!
Set a workpiece on the print bed and secure it so it won't move while the bed is moving. I used a piece of white cardboard and kept it in place with a bit of paper masking tape. Make sure your laser beam is focused nicely so it burns the tiniest surface area.
Sit back and watch the laser show while your QR code gets etched piece by piece.


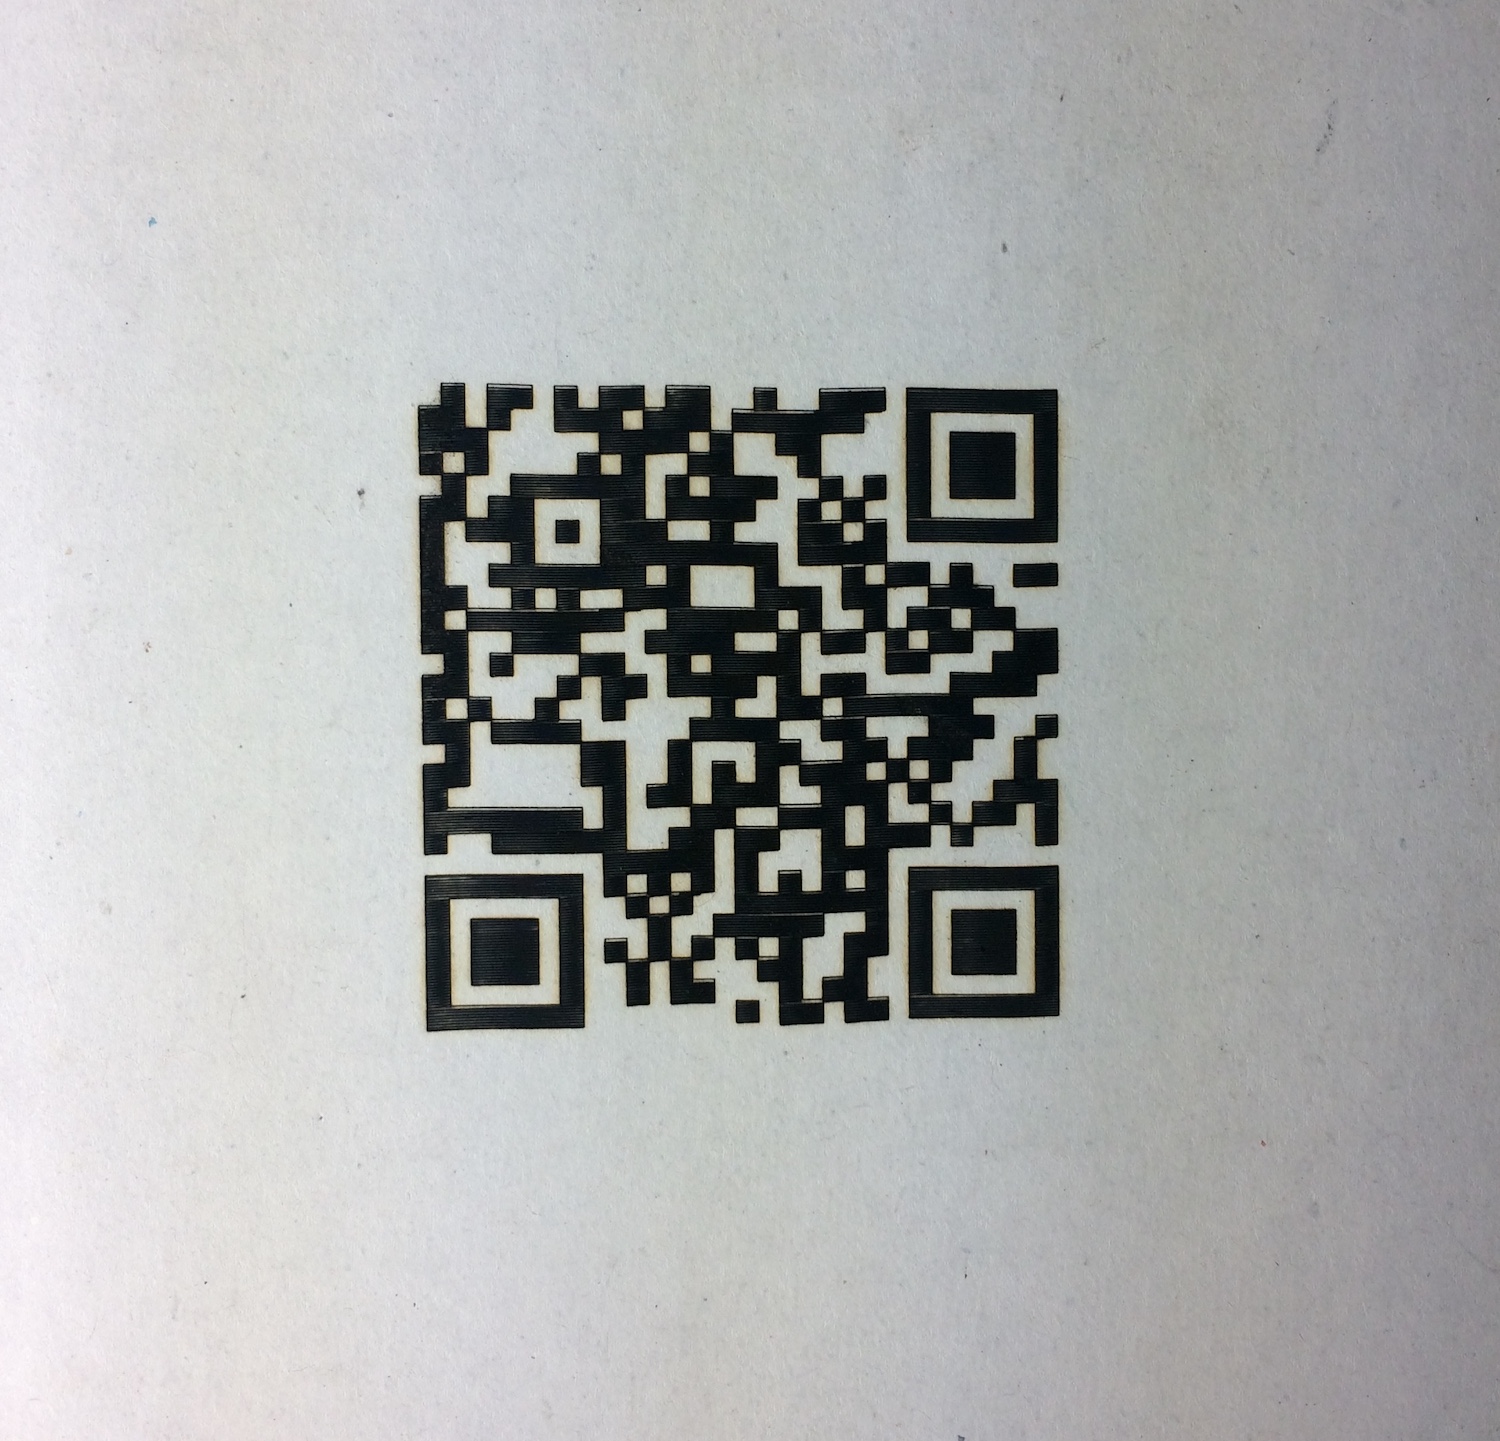

Happy laser blasting!
This technique can be utilized to print virtually any other artwork and there are many other ways to prep an SVG file for conversion. Go on and start experimenting and share your results with the Trinus community on social media!
If you have questions or you're stuck — maybe have a couple suggestions for this tutorial, send me a message to no-reply[at]vandenmar.com. I have very limited free time to devote to this project so I might not be able to get back to you right away. If you need assistance with a complicated file, I've set up a Fiverr account. For a more complex version of the SVG to Trinus G-code script, check out the node based solution on GitHub.